Работа в прогрессе * Work in progress
Although this is still a work in progress I have decided to post some of the build techniques used for the various components. As the project build gets closer to completion I will reveal what the finished item is however until then here is a little hint :)
The process below outlines how the Electron Valve cages were made.
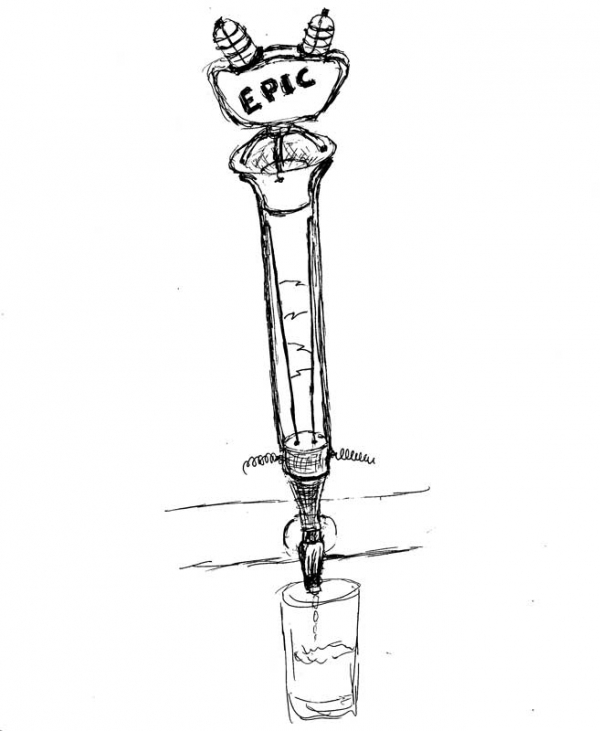
Please excuse my drawing skills but this is what sort of what the the finished item will look like.
And here is a video of the prototype running.
1. Measure and Cut a 5mm wide strip of copper
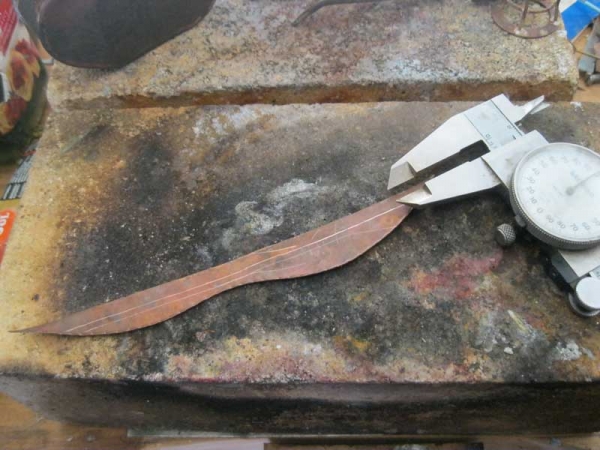
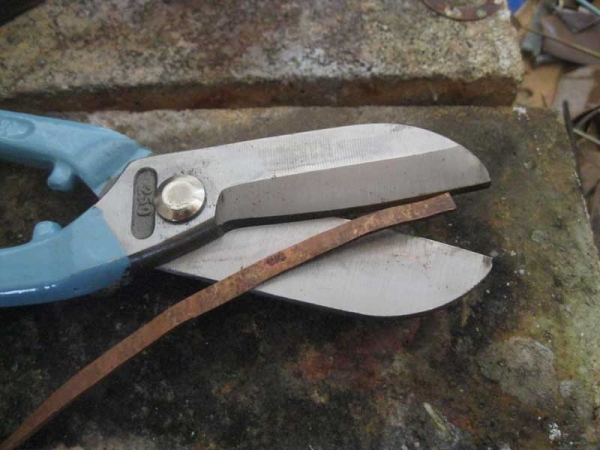
2. Anneal strip to make the copper evenly pliable, annealing is the process of bringing the metal to the relevant temperature so as to make it soft.
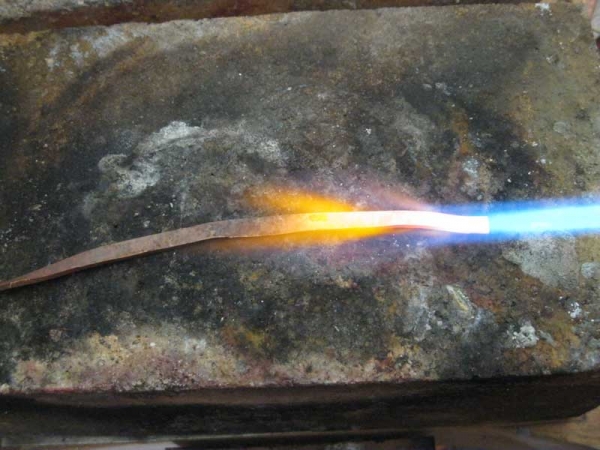
3. Gently curve the ends, This takes a bit of practice but you should be able to curve the copper width ways, it may try to ripple if this happens you can use the pliers to flatten it again or litly tap it with a small hammer so it becomes flat.
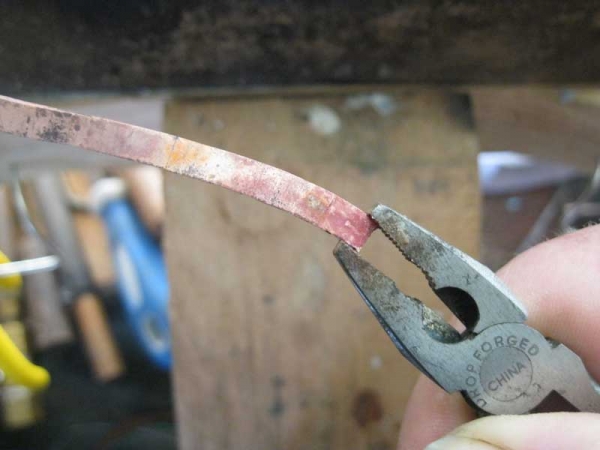
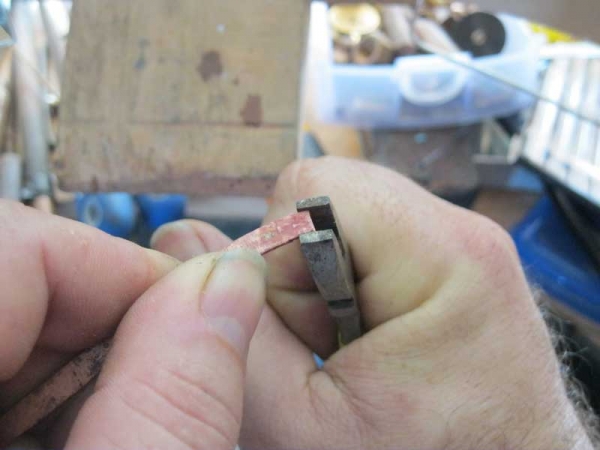
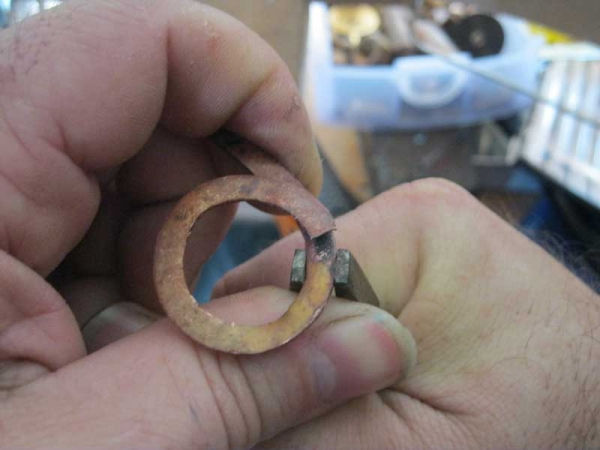
4. Once you have a circle then flaten out any wrinkles in the copper.
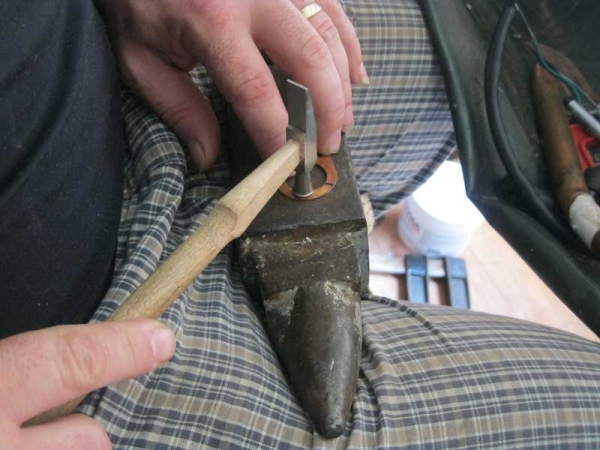
5. Trim off the excess so you can mate the edges.
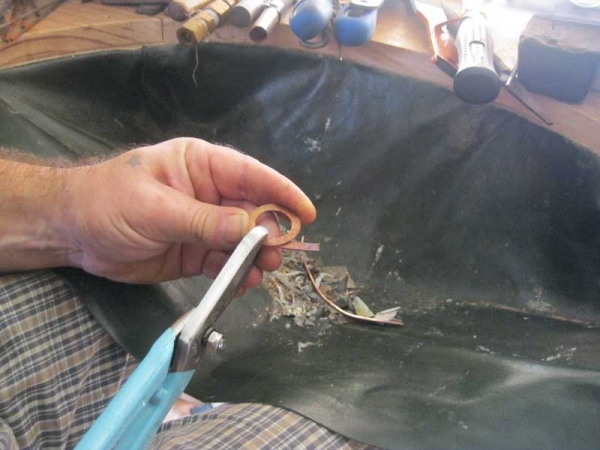
6. File the edges so there are no gaps.
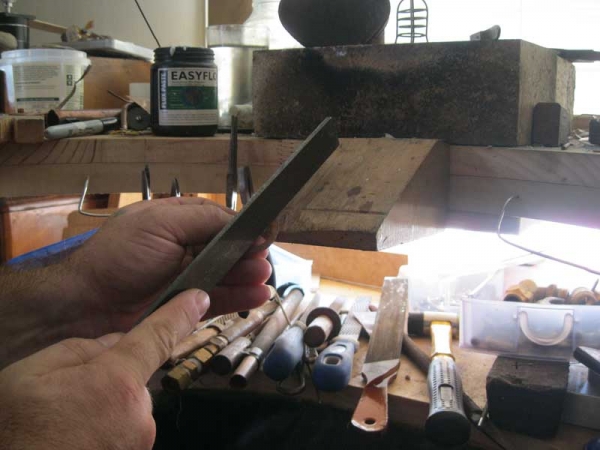
7. Solder the joint, I use silver solder as it tends to be a lot harder and works easier.
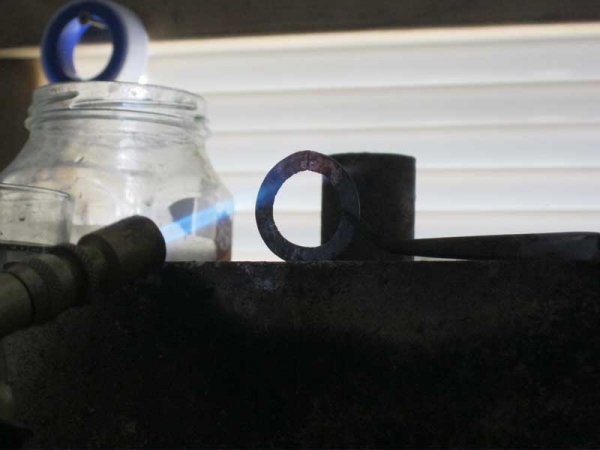
8. I use the beak or horn on my little anvil to round up the flange, you can increase and decrease the hole size dependent on where you tap the ring.
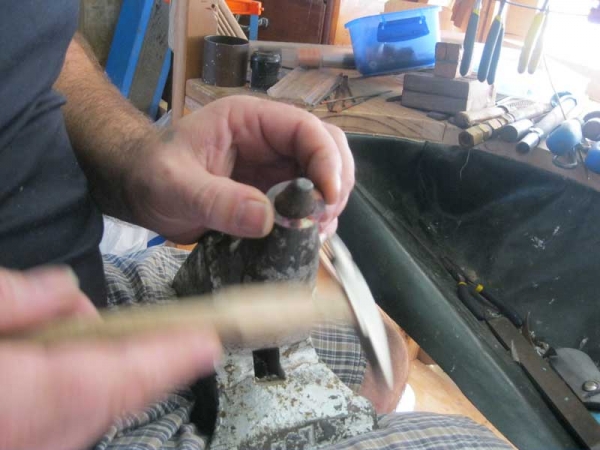
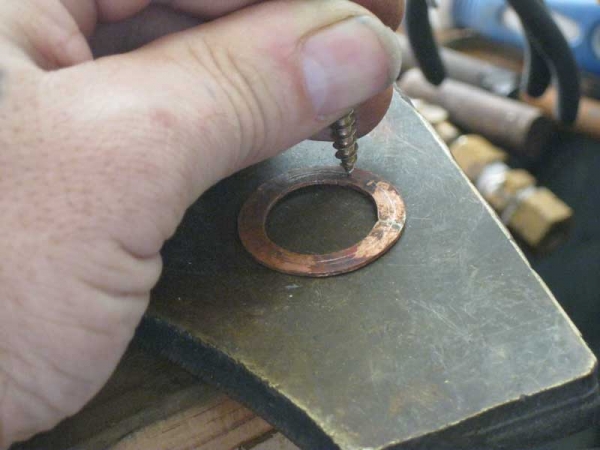
9. Mark where the holes will be, excuse the use of a screw as the punch :)
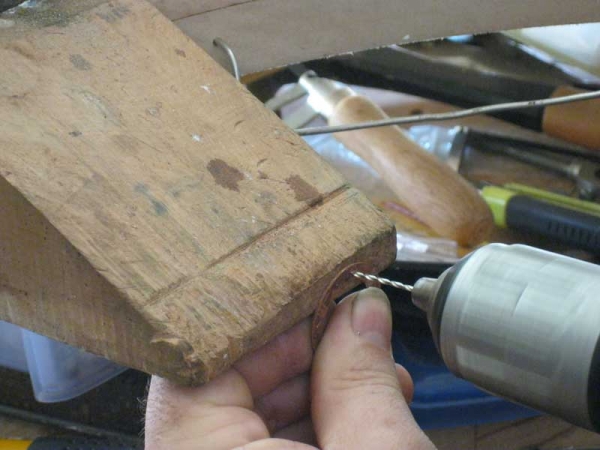
10. Drill the holes for the brass wire.
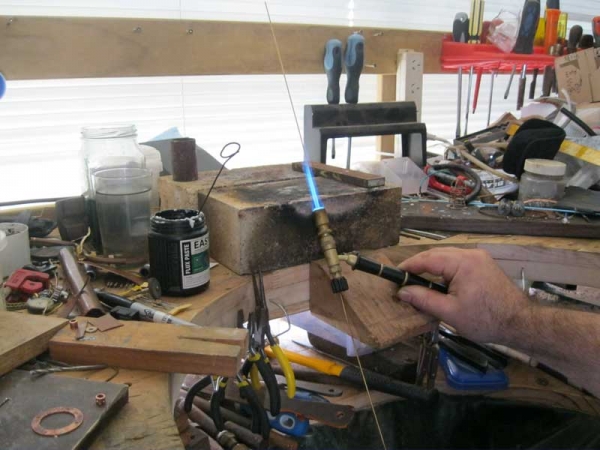
11. Anneal the brass wire, I do this by suspending it from the top and running the gas torch up and down the length.
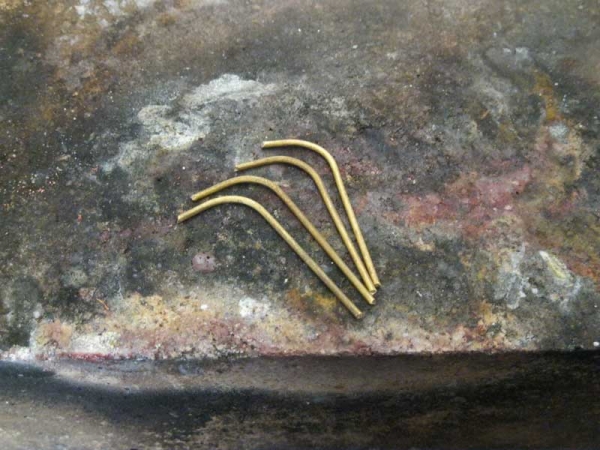
12. Cut and Curve the frame wire's.
13. Cut a small piece of tube for the top part of the cage, you could also roll a piece of copper to make the tube if you don't have any tube.
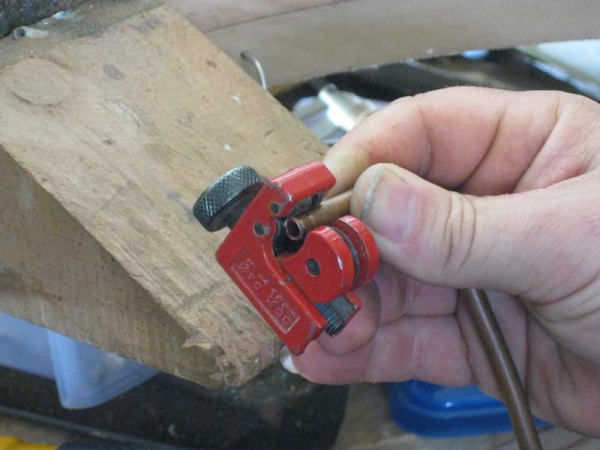
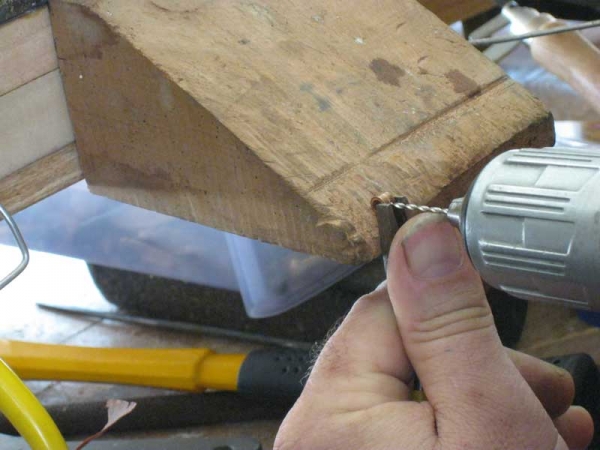
14. Mark and drill holes where the cage wire will be inserted.
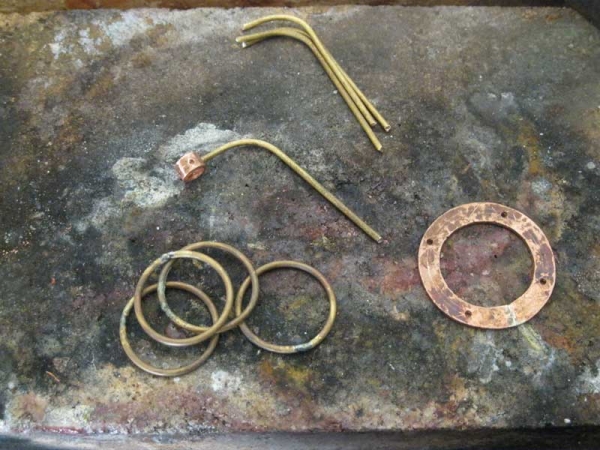
15. All of the components ready to be put together, the 4 brass rings were made in bulk previously and I have not included how they were made however the process if pretty simple. Anneal the brass wire and wrap it around a former then cut to size and solder.
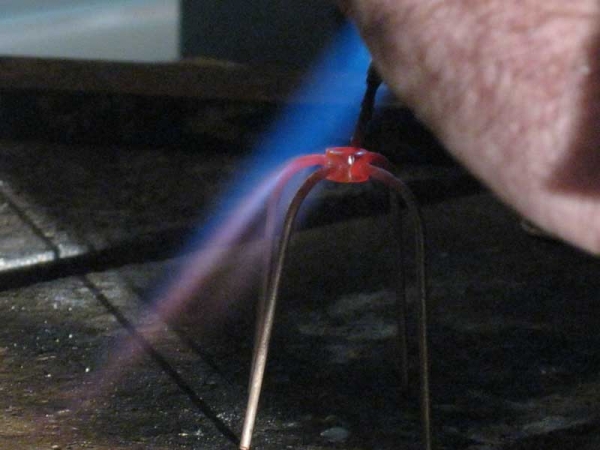
16. Silver solder the frame wires to the top tube, I heat from the outside and push the solder in to the inside so it is drawn in to the gaps. Remember solder will flow where the heat is, so if you have the hottest part of the flame where you want your solder to end up, and feed your solder in where the colder part of the flame is your solder will chase the hot spot.
17. Silver solder the cage rings in place, I do each ring individually starting to the one closest to the top that way I can bend the cage wires so there is no gap between them and the ring.
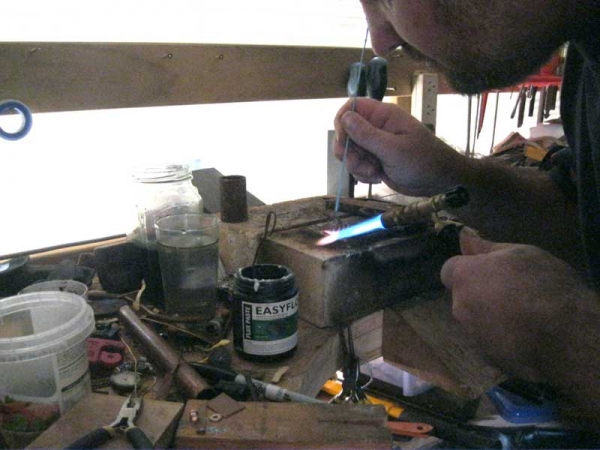
18. Bend the legs or ends of the frame wires to match the holes in the base flange. then silver solder the flange in place heating from the top and running solder in from the bottom.
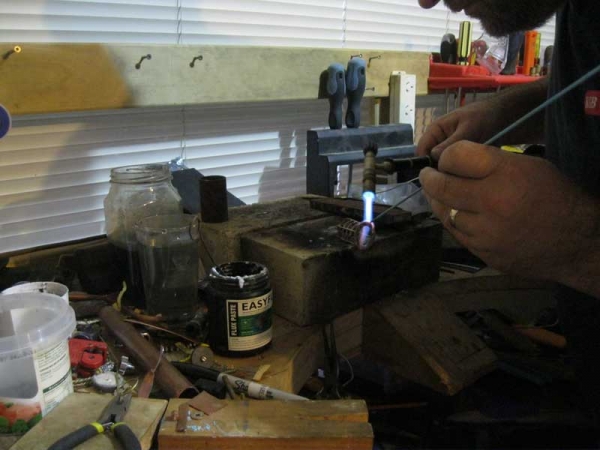
19. The cages in place, The top flange will have screws that hold it to the bottom flange.
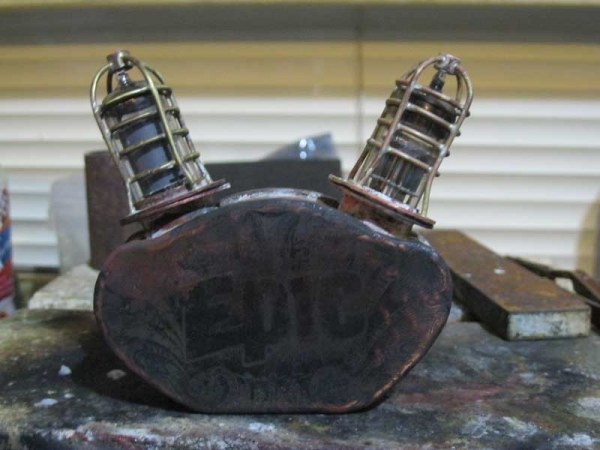
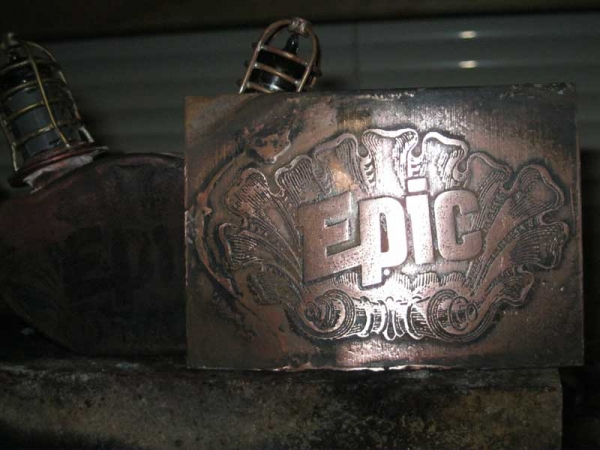
20. In the above photo you can just see the etching in the copper as it has not been cleaned up and is covered in oxide. Below is what the etching looks like cleaned up.
Thank You alexgvdovin for translating this article.
Хотя эта работа еще не закончена, я решил показать некоторые техники, использованные при создании ее различных компонентов. Когда проект приблизится к завершению, я обязательно раскрою, что это за изделие. А пока дам только небольшой намек :)A friend of mine owns a craft brewery here in New Zealand called Epic. He is a fan of steampunk and has been the inspiration for a few of my more recent projects as well as this one.
Мой друг владеет пивоварней здесь, в Новой Зеландии, которая называется Epic. Он поклонник стимпанка и был вдохновителем для нескольких моих последних проектов, таких как этот.
The process below outlines how the Electron Valve cages were made.
Пожалуйста, извините меня за навыки рисования, но это что-то наподобие того, как будет выглядеть законченное изделие.
Please excuse my drawing skills but this is what sort of what the the finished item will look like.
Пожалуйста, извините меня навыки рисования, но это какая то, что закончил пункт будет выглядеть.

And here is a video of the prototype running.
А вот видео как работает прототип.
1. Measure and Cut a 5mm wide strip of copper
1. Отмерьте и отрежьте полоску меди шириной 5мм


2. Anneal strip to make the copper evenly pliable, annealing is the process of bringing the metal to the relevant temperature so as to make it soft.
2. Отожгите (прокалите) полоску, чтобы сделать медь равномерно гибкой, отжиг — это процесс придания металлу соответствующей температуры, чтобы сделать его мягким.

3. Gently curve the ends, This takes a bit of practice but you should be able to curve the copper width ways, it may try to ripple if this happens you can use the pliers to flatten it again or litly tap it with a small hammer so it becomes flat.
3. Аккуратно загните концы, это потребует немного практики, но в итоге вы должны быть в состоянии загнуть медь, сохранив ширину полоски. Медь может искривиться волной, если это произойдет, вы можете использовать плоскогубцы, чтобы исправить все неровности или воспользуйтесь маленьким молоточком, чтобы сделать полоску плоской.


4. Once you have a circle then flaten out any wrinkles in the copper.
4. Если у вас получился круг, значит все искривления в меди выровнены.

5. Trim off the excess so you can mate the edges.
5. Обрежьте лишнее так, чтобы вы смогли соединить края.

6. File the edges so there are no gaps.
6. Отшлифуйте края напильником, чтобы не осталось никаких зазоров.

7. Solder the joint, I use silver solder as it tends to be a lot harder and works easier.
7. Спаяйте стык. Я использую серебряный припой, поскольку он намного тверже и работать с ним проще.

8. I use the beak or horn on my little anvil to round up the flange, you can increase and decrease the hole size dependent on where you tap the ring.
8. Я использую носик (выступ) на маленькой наковальне, чтобы округлить кромку. Вы можете увеличить или уменьшить размер отверстия в зависимости от того, где вы разместите кольцо.

9. Mark where the holes will be, excuse the use of a screw as the punch :)
9. Разметьте, где будут отверстия, извините, что использую для этого шуруп :)

10. Drill the holes for the brass wire.
10. Просверлите отверстия для латунной проволоки.

11. Anneal the brass wire, I do this by suspending it from the top and running the gas torch up and down the length.
11. Отожгите латунною проволоку, я делаю это подвесив ее за верхний конец и проходясь газовой горелкой вверх и вниз по всей длине.

12. Cut and Curve the frame wire's.
12. Отрежьте и согните проволоку.

13. Cut a small piece of tube for the top part of the cage, you could also roll a piece of copper to make the tube if you don't have any tube.
13. Отрежьте небольшой кусок трубки для верхней части клетки, вы можете также свернуть кусок меди, чтобы сделать трубку, если у вас нет никаких трубок.

14. Mark and drill holes where the cage wire will be inserted.
14. Разметьте и просверлите отверстия там, где будут вставлены проволоки для клетки.

15. All of the components ready to be put together, the 4 brass rings were made in bulk previously and I have not included how they were made however the process if pretty simple. Anneal the brass wire and wrap it around a former then cut to size and solder.
15. Все компоненты готовы, чтобы собрать их вместе. 4 латунных кольца были сделаны ранее, и я не показываю, как они были сделаны. Хотя это довольно простой процесс. Отожгите латунную проволоку и оберните ее вокруг формы, затем обрежьте по размеру и спаяйте.

16. Silver solder the frame wires to the top tube, I heat from the outside and push the solder in to the inside so it is drawn in to the gaps. Remember solder will flow where the heat is, so if you have the hottest part of the flame where you want your solder to end up, and feed your solder in where the colder part of the flame is your solder will chase the hot spot.
16. Припаяйте проволочную рамку к верхней трубке. Я нагреваю трубку снаружи и продавливаю припой внутрь, чтобы он втягивался в зазоры. Помните припой будет течь, туда, где теплее, так что если самая горячая часть пламени, будет там, где вы хотите, чтобы оказался припой, и вы нагреваете припой холодной частью пламени, ваш припой устремится к горячей точке.

17. Silver solder the cage rings in place, I do each ring individually starting to the one closest to the top that way I can bend the cage wires so there is no gap between them and the ring.
17. Припаяйте на свое место кольца. Я делаю каждое кольцо индивидуально, начиная с верхнего, так я могу сгибать проволоки, поэтому нет разрыва между ними и кольцом.

18. Bend the legs or ends of the frame wires to match the holes in the base flange. then silver solder the flange in place heating from the top and running solder in from the bottom.
18. Согните ножки (концы) проволок рамки в соответствии сотверстиями в основании фланца. Затем припаяйте фланец в нужном месте, нагревая сверху и подавая припой снизу.

19. The cages in place, The top flange will have screws that hold it to the bottom flange.
19. Клетки на месте, верхний фланец будет прикреплен винтами к нижнему фланцу.

20. In the above photo you can just see the etching in the copper as it has not been cleaned up and is covered in oxide. Below is what the etching looks like cleaned up.
20. На фото, приведенном выше, вы можете увидеть только травление меди, здесь гравировка еще не очищена и не покрыта окисью. Ниже то, как выглядит гравировка травлением, будучи очищенной.

Thank You alexgvdovin for translating this article.
Спасибо alexgvdovin за перевод этой статьи./blockquote>

8 комментариев
*It's only an Epic Fail if you drink too much :)
It is simply amazing how can it be that people on the different sides of the globe come up with the same thought at almost the same time!
By the way, the use of a screw as a hole puncher has come to me separately too — since it is made of exeptionally hard steel. Logical enough to be explainable, but an exiting coincidence too!
By the way also, if the flat copper ring doesn't have to be too thick, wouldn't it be easier to make it of a copper wire piece, 2.5mm thick or more, and then to flatten it with a hammer? Heated copper is quite easy to smith to 3 or 4 wire diameters' width.
Еще одной альтернативой провод использовать медные трубы, это создает гораздо шире кольцо, когда уплощенная.
В моем случае у меня есть много, если меньше медного лома peices вокруг и попытаться использовать его как можно больше, чтобы ограничить отходов.
*It must be a good idea then :) All good ideas echo throughout the aether. We are all conected :)
Another alternative to wire is to use copper tube, this creates a much wider ring when flattened.
In my case I have a lot if smaller copper scrap peices around and try to use it as much as possible so as to limit the waste.